Homemade Lemon Curd
This lemon curd recipe is rich, smooth and tangy. A lemony addition to scones, crumpets, pancakes, desserts, yogurt and more!

Sometimes I buy big bags of lemons thinking I’ll drink lemon water out the wazoo. It’s supposed to be healthy, so they say. But after the first 3 or 4, I come to realize I have way too many lemons to get through the entire lot, so I start thinking about ways to use them up.
That’s where the not-so-healthy part kicks in and I am forced to whip up a batch of homemade lemon curd. I can’t help myself. It’s just so darn tasty!

What Can You do With Lemon Curd?
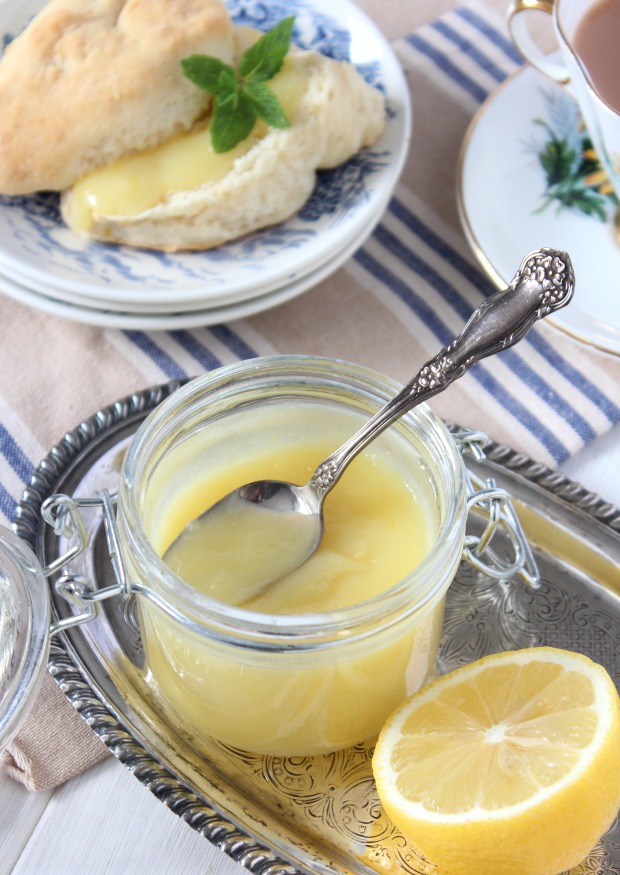
Lemon curd is traditionally served with tea, where it’s spread on scones, crumpets, biscuits or other baked goods. Besides that, it’s scrumptious over pancakes, as a quick dessert idea with strawberries and whipped cream (maybe some angel food cake) or as a filling for basic tarts with a little fresh fruit. I also like it with plain Greek yogurt.
You can also fold it into a bit of whipped cream to use as a filling for cream puffs. So very delicious!
Honestly, I’d be happy eating spoonfuls of it out of the jar! It may have happened…

If you tend to love anything citrus like I do, you must give this recipe a try. It’s lemony, of course, and a bit more tart than sweet.

That’s how I prefer it. You? And, of course, it’s so much better when it’s homemade!

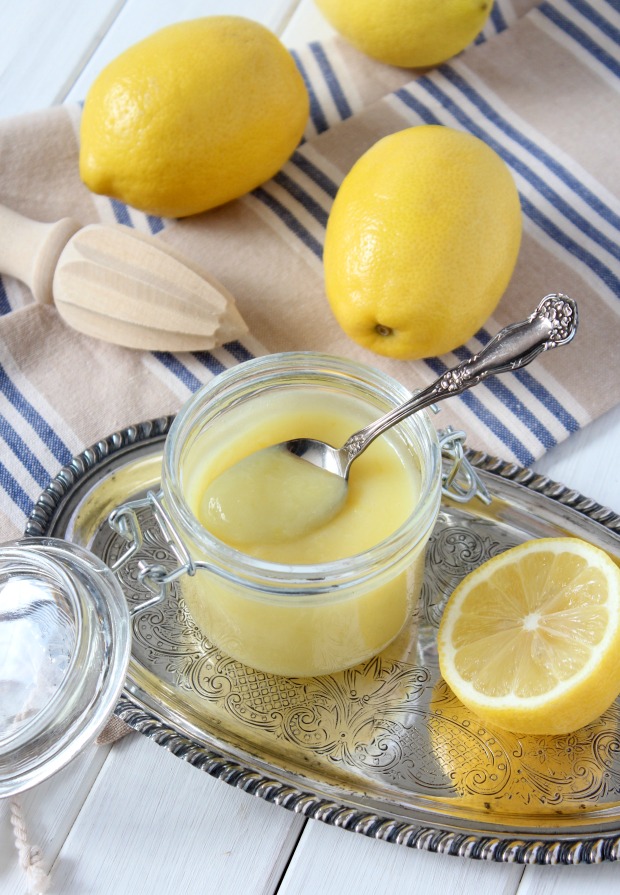
Don’t hate me if the jar calls your name from the fridge! I mean, who can resist that sunshiny yellow colour? At least it’s a small batch.

How to Make Lemon Curd
Ingredients
- unsalted butter
- granulated sugar
- lemon zest
- freshly squeezed lemon juice
- large egg
Full measurements and details are in the recipe card at the bottom of the post.
Instructions
- Place butter into a heavy bottomed saucepan over very low heat until it just melts. Turn off the heat and set to the side.
- Measure the sugar into a medium-sized bowl and zest the lemon(s) into it. Add the lemon juice and stir.
- Separate the egg, dropping the yolk into the warm (not hot) butter and the white into the sugar mixture. Whisk the yolk and butter together until well combined.
- Next, whisk the sugar mixture until well combined. Transfer into the pot with the butter and whisk it all together.
- Place the saucepan back onto low heat and use a whisk to constantly stir the mixture, scrapping the bottom and sides of the saucepan regularly. Keep whisking until the curd thickens enough to coat the back of a spoon (a candy thermometer should reach about 170°F). Do not bring to a boil. (It will thicken as it cools.)
- Immediately pour through a strainer into a jar (200 milliliter). Store in the refrigerator up to 2 weeks (if it lasts that long!).

Homemade Lemon Curd

Ingredients
- 1/4 cup unsalted butter
- 1/3 cup + 1 tablespoon granulated sugar
- 1-2 lemons zested
- 1/4 cup freshly squeezed lemon juice
- 1 large egg separated
Instructions
- Place butter into a heavy bottomed saucepan over very low heat until it just melts. Turn off the heat and set to the side.
- Measure the sugar into a medium-sized bowl and zest the lemon(s) into it. Add the lemon juice and stir.
- Separate the egg, dropping the yolk into the warm (not hot) butter and the white into the sugar mixture.
- Whisk the yolk and butter together until well combined.
- Next, whisk the sugar mixture until well combined. Transfer into the pot with the butter and whisk it all together.
- Place the saucepan back onto low heat and use a whisk to constantly stir the mixture, scrapping the bottom and sides of the saucepan regularly. Keep whisking until the curd thickens enough to coat the back of a spoon (a candy thermometer should reach about 170°F). Do not bring to a boil. (It will thicken as it cools.)
- Immediately pour through a strainer into a jar (200 milliliter). Store in the refrigerator up to 2 weeks (if it lasts that long!).
Notes
Are you a lemon curd fanatic? What’s your favourite thing to spread it on?

Pin this delicious homemade lemon curd recipe for later!

Be sure to check out all of my lemon recipes!
Want more delicious recipes and ideas like these sent directly to your inbox? Be sure to SUBSCRIBE.
Enjoy!


Thanks for sharing Shauna, I love Lemon Curd as well and I’m with you just eating by the spoonful
So, so delicious. Good thing I make a small batch!
Ohhh this looks so good, Shauna! Your little blue china plates are adorable as well, they fit so perfectly with the pretty theme of this lemon curd. I’ve actually never tried lemon curd, but seeing as how it’s spring maybe it’s time to give it a try!
I’ve been collecting those dishes for a while now. Slowly I find new ones, and I’m hoping to score big during the upcoming garage sale season!!
I love lemon curd. It’s funny though, because every time I make it I’m thinking “Really, that’s all the lemon? No more?” And yet the flavour is so intensely wonderful.
Personally, I like to use it to fill cakes. I think it’s just perfect that way. I also really love grating just a little extra lemon zest into it to intensify the flavour.
Yes, to fill cakes. Yum. I love it over angel food cake too!
This curd looks so good! I love lemon curd, but the consistency can be off; yours looks perfect!