Flower & Herb Garden Bouquets + Printable Gift Tags
Sharing a little piece of your garden is such a simple way to brighten someone’s day. These easy flower and herb bouquets make thoughtful gifts for friends, neighbours, or party hosts. Add a sweet personal touch with the free printable tags!
Hello friends! Did you miss me? Today I’m back for the last week of Seasonal Simplicity, a series created by my friend Krista. Previously, I shared a lovely rose petal soak for my summer DIY project, and you can also check out my lavender blackberry sparkling lemonade that was part of the summer recipes week.
This time around, we’re sharing our Free Summer Printables, which includes my garden gift tags.

Turning My Small Garden Into Gifts
Although we have a fairly small yard and even smaller garden, I try to make the best of it. Careful planning, as well as some trial and error over the years, means I’m still able to grow a variety of plants.
Take the ones above that I cut from our yard this morning and plunked in this milk glass vase until I got around to arranging.
Quite often, I end up with more flowers and herbs than we need. So, I bundle them up, creating pretty garden bouquets to pass along to family and friends.

These fresh and fragrant gift bouquets are a lovely way to say “thank you” or “just because”. Take one along to a summer party as a hostess gift, or pop by and surprise your neighbour. They’re also great for birthdays or housewarmings.
It’s always fun to brighten someone else’s day, right?! I love that they’re budget-friendly and sustainable too.
I also suggest checking out this hostess gift in a jar idea for your garden-loving friend.
How to Create Flower & Herb Garden Bouquets
Step 1: Choose Your Flowers and Herbs
Select flowers and herbs that complement each other in colour, texture, and scent. Some popular options include:
- Flowers: Roses, hydrangeas, daisies, cosmos, zinnias, snapdragons, dahlias, etc.
- Herbs: Rosemary, thyme, mint, basil, sage, lavender, parsley, etc.
You can also use shrub or tree clippings.

Step 2: Harvest at the Right Time
It’s usually best to cut flowers and herbs first thing in the morning (after the dew, but before it’s too hot). Use clean scissors or garden shears to cut stems at an angle.
Step 3: Prepare the Stems
For flowers, remove leaves from the lower part of the stem. Trim bottoms as needed.
Step 4: Arrange Your Bouquet
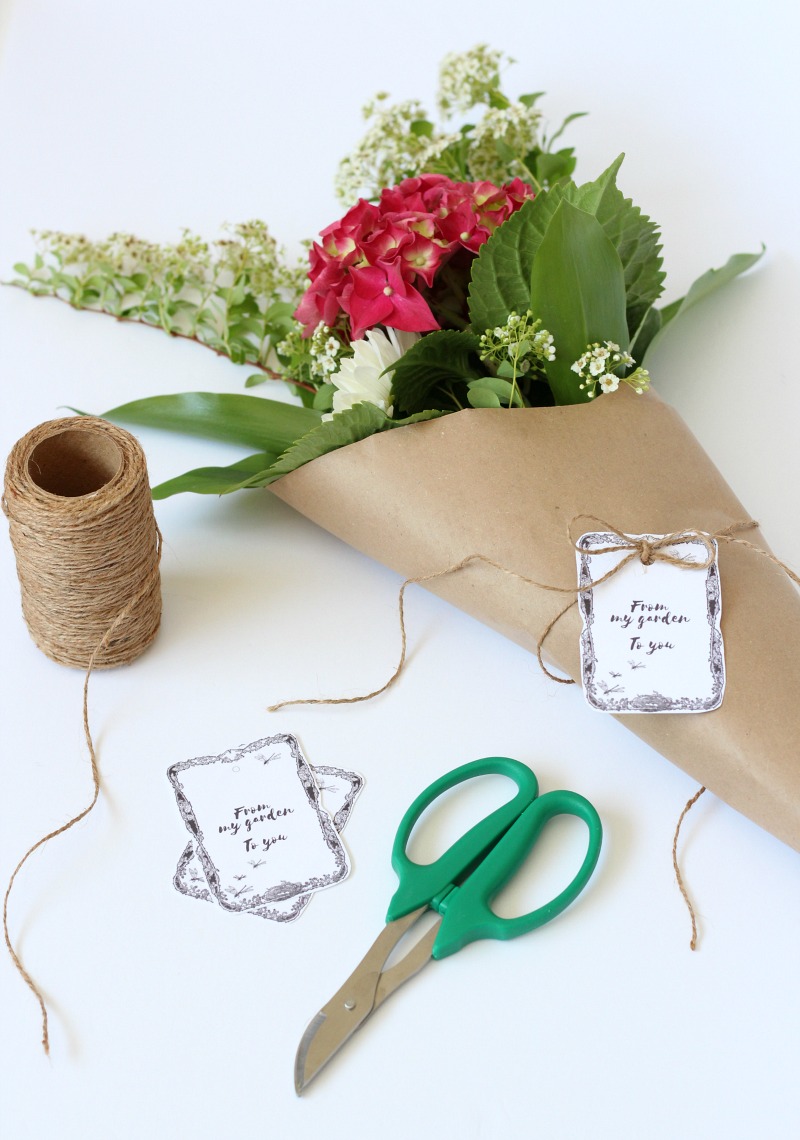
Vary heights and textures for a balanced look. Secure with floral tape or twine.
For on-the-go bouquets, cover each bundle of stems in soaked paper towel and a bit of plastic to keep them hydrated. Then, wrap in kraft paper with just the tops poking out. Keep away from direct sunlight or drafts to maintain freshness.

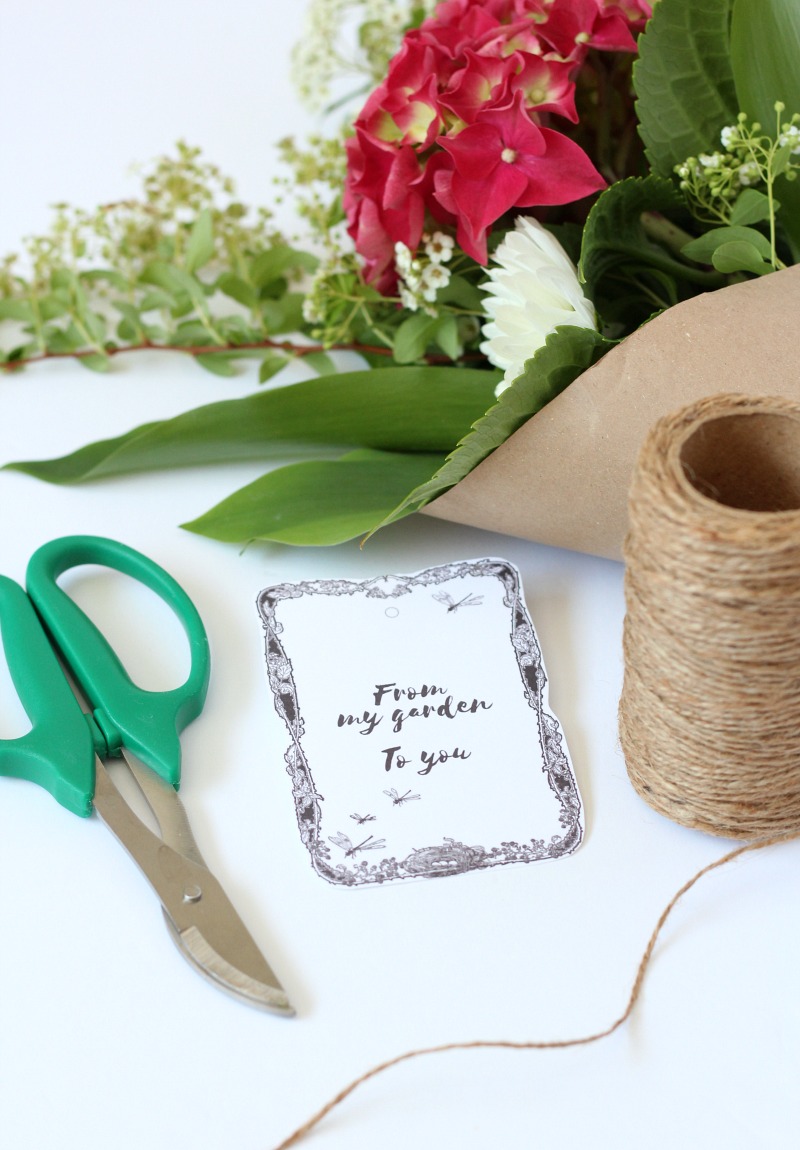
Step 5: Add Gift Tag
Download and print the free garden gift tags included below. Attach with ribbon or string for a thoughtful, handmade touch.
Free Printable Flower and Herb Garden Gift Tags
I created these herb and flower bouquet printables in two sizes using vintage garden frames from The Graphics Fairy.
I suggest using the smaller version for bouquets and the larger ones for baskets of produce.

Some links used in this post are affiliates. Please refer to my disclosure policy for more information.
Gift Tag Instructions:
1. Download printable (*see below).
2. Print out tags on white card stock using best quality setting on your printer.
3. Cut along the border with scissors.
4. Punch hole in the black circle at the top of the tag.
5. Thread string through the hole and attach to your gift with jute string or ribbon.
Note: I prefer writing on the back of the tag for a tailored look.
*Get these free printables by joining Satori’s email subscriber list (weekly and/or monthly). After joining, you will gain access to the VIP Members Only Library that contains the download file. If you are already a subscriber, this PDF is waiting for you in the library. (A password reminder is included in each email. Wait at least a couple hours and check your junk folder. Contact me if you’re having trouble accessing it.)
Click here to-> Subscribe to Weekly Updates
Click here to-> Subscribe to Monthly Updates
Tips For Keeping Flowers and Herbs Fresh
Already harvested your flowers and herbs, but not quite ready to gift? Herbs can be placed in a paper-towel lined container in the refrigerator up to a few days.
Another option is drying your herbs. Simply hang upside down in a warm, dry and dark place with good ventilation for a few weeks. See my tips for drying mint, lavender, and roses.
For flowers, create arrangement in vase with water (following instructions in step 4), then store in cool area in your home for a day or two. Use flower food if available.
Other DIY Summer Gift Ideas
Be sure to add this flower gift tag to your craft, gardening and gift boards on Pinterest.

More Summer Printables
You’re going to love these free printables my friends created for Seasonal Simplicity: Summer Edition.


Want more holiday and seasonal ideas like these sent directly to your inbox? Be sure to SUBSCRIBE.
Enjoy your day,

These are darling! Thank you so much for sharing, Shauna! Hope you’re having a wonderful week!
Thank you, Abby! Enjoy your summer :)
What a sweet idea Shauna! Love that little personalized touch!
Thanks, Jenn! They’ll definitely be put to use this summer :)
This is such a sweet and lovely idea, Shauna! Thanks for joining in on this hop, friend! Happy summer!