Kitchen Container Potager
Learn how to create your own kitchen container potager. Grow your own vegetables and herbs to cook with all summer long!

I was hit with the gardening bug at a very young age. Growing up in the country, we planted a huge garden every year and eating fresh vegetables and freezing or canning the remainder was the norm. When my husband and I bought our first house, we were fortunate to have a large back yard with a good-sized garden. There was something therapeutic about tending it, watching it evolve and creating meals based on what was ready to eat.
Fast forward to our current home and our back yard is quite small and sloped, making it difficult to grow much more than a few trees, shrubs and some perennials. Since we moved here 8 years ago, most of my vegetable gardening has been limited. I’ve grown the occasional tomato plant, as well as a few herbs, but most of our produce comes from the grocery store or the occasional farmer’s market.
This year, I decided to try something a little different and create a kitchen garden, or potager as referred to in France.
What is a Kitchen Potager?
Kitchen potagers typically feature patterned beds where herbs, edible flowers and fruits co-exist with carefully selected vegetables to produce fresh food and flowers to the kitchen table throughout the growing season. Potager literally means “for the soup pot”, so it only makes sense to include a variety of produce.
Given the limited space I’m faced with, I thought I’d create a mini form of this garden in containers.

What to Plant in a Container Potager
When planning a potager container garden, colour, flavour, fragrance and aesthetics are all important factors.
To get it right, I decided to make a list of herbs I like to cook with, the high-yielding vegetable and fruit plants requiring a small amount of space, as well as some good companion flowers.
I found most of these at a few local garden shops:
- Tomatoes
- Lettuce
- Peppers
- Savoury
- Chives
- Oregano
- Thyme
- Rosemary
- Basil
- Cilantro
- Marigolds
How to Plant a Kitchen Container Garden
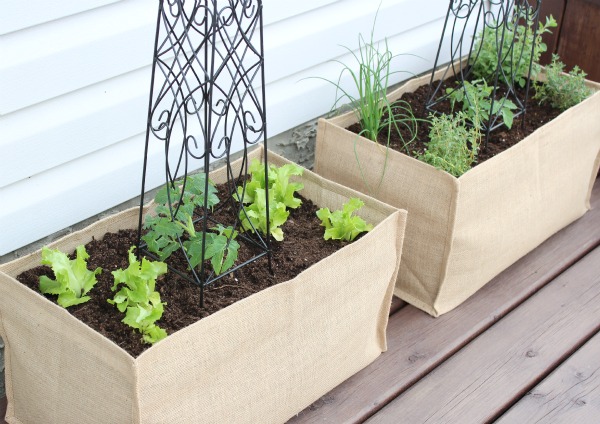
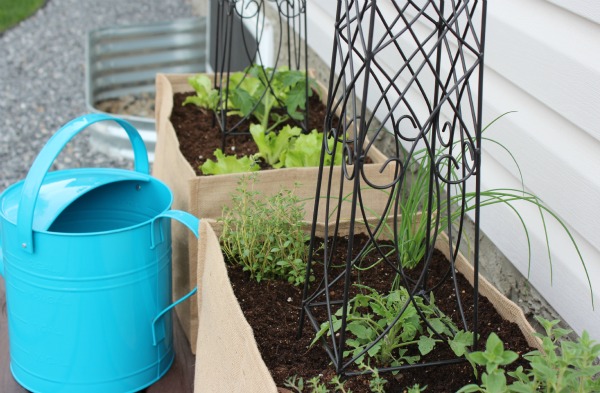
For containers, I decided to use lined burlap garden bags that I reinforced with pieces of wood at the top. Then, I filled them with a mix of potting soil and organic compost.

In one container, I planted a patio tomato with a few varieties of lettuce. I placed an obelisk over the tomato plant for support.

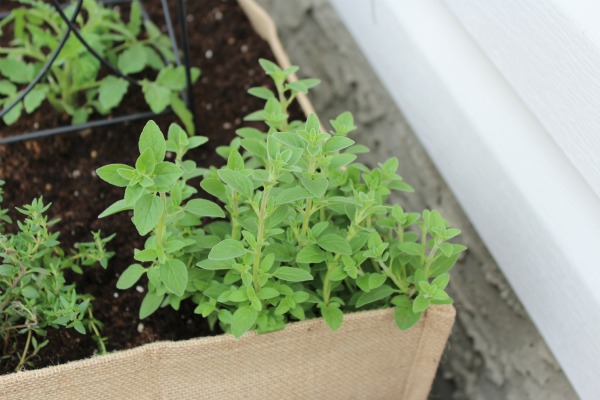
In another bag, I planted a cherry tomato, chives, oregano, savoury and thyme.

Finally, I gave everything a good watering. It’s grow time!

I have one more burlap garden bag that I’m going to use for basil, peppers, cilantro, rosemary and a few marigolds to keep the pests away (if only that worked for my dog!). That will be one of today’s projects (if the weather allows).
Don’t forget about Part Two of the Outdoor Extravaganza next week over at Amanda’s where we’re sharing our outdoor decorating tips.

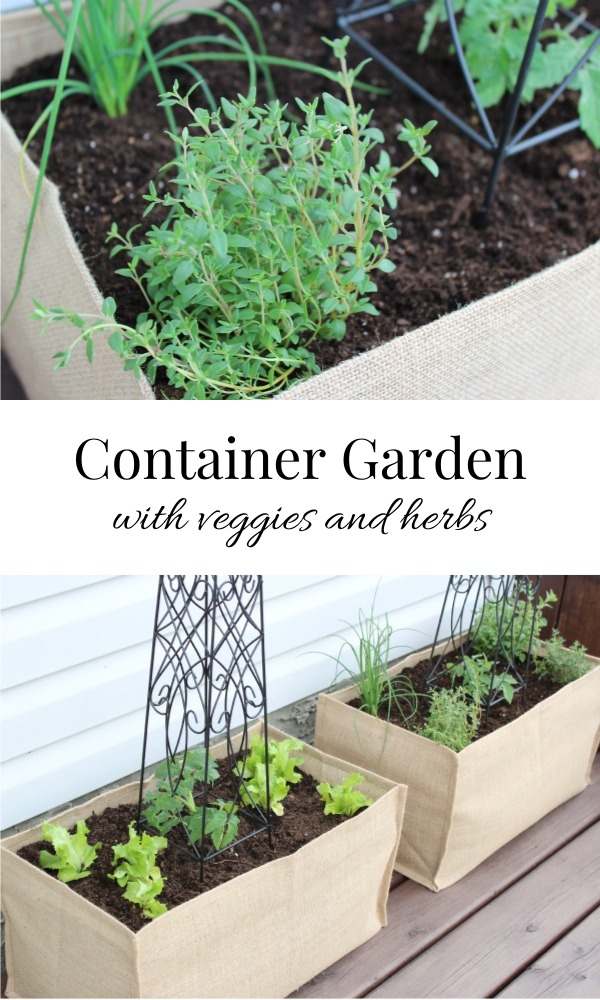
Be sure to pin this easy gardening project for later!

More Container Garden Ideas
- Weathered Bench Container Garden
- Container Herb Garden Ideas
- Strawberry Pot Herb Garden
- Grow a Tomato Sauce Garden Gift Basket
One other thing before you head off… If you’re looking for more useful and pretty ideas in your life, make sure you’re on the email list! You can subscribe here.
Happy planting!


I LOVE your burlap bags… where did you find these? I love being able to use what is in the garden! It makes cooking so much fun when you have to use the stuff in your garden! Thanks for hosting!
Love them too! I actually found them at Wal-Mart of all places. They’re made by Easy Gardener.
They look great Shauna! The burlap is a perfect addition.
I LOVE your burlap garden! We really enjoy fresh herbs, and you have just given me some great ideas!!! I can’t believe you found the burlap bags at Wal-Mart. Hopefully our Wal-Mart carries these ones, too :-) I’ve linked up today – thank you so much!
Thanks for linking up! Our neighbours had sweet peas growing along their pool fence when I was a kid. Your post brings back good memories!
Love the burlap containers Shauna…and the iron obelisk adds interest and style! Its great having fresh herbs growing in the yard…I love being able to just snip and use whatever I need! Thanks for hosting this fun party!
Love your planter! Thanks for joining in the fun and being a source of inspiration!
Your little potager is tres charmant! :) Love the burlap containers. Thanks, also, for hosting the link party – I love seeing what everyone has done!
Merci beaucoup!
The burlap is beautiful, and is a great idea. I like your idea of thinking of what you use to cook with before standing at the nursery with all those plants in front of you! Thank you so much for hosting this fun link party.
Love it Shauna! Thanks for the invite and for hosting : )
Thanks for hosting this link up. I love gardening and seeing how others do it also. I love those burlap planters. Really cute.
Thanks for hosting. I love the burlap bags they are adorable. What a great idea! Lesley
Super inspiration! love the whole composition of colors and textures and height with metal:) Thank you so much for hosting this party!
Very pretty! The burlap bags are very nice. I haven’t ever seen these before. Thanks for hosting!
Great job! I linked up, now time to check out some of the other posters! :)
Thank you for visiting & inviting me to your linky party. I love the burlap planters you made, such a great idea to create texture.c Thank you for hosting and have a happy weekend!
Hi Shauna, this is absolutely wonderful! I love your burlap bag potager…… and the obelisk you added make them so pretty. Thanks for sharing this inspiring idea and for inviting me to this wonderful garden party…. loving all the links. I just added my link here:) Happy Memorial Day weekend!~Poppy
Thank you for your kind comments. I’m so glad you stopped by and joined the party!
Love these! The burlap bags have a great shape and such a different texture from standard pots or planters! Thank you for inviting us to link up–this is the first time I’ve done this! I love seeing what others are doing.
So glad you linked up your project. Be sure to check out the party tomorrow (outdoor decorating) over at Amanda’s and the others in the weeks to come.
Greetings!
These planters look great. I had my sister make them for me, following your specifications, but after I put the soil in, the bags just would not hold up, and the wood would not keep it up. Don’t know if there is more than one kind of burlap, or if there were any specifics I might have missed?
Hi Gloria, Are your burlap bags the same ones I used? If you put the wood slats tight a few inches down from the top and fill the soil just over top, they should work. Mine have been out in the elements since I made them and they still look the same (with a little staining from rain along the sides). I’m not sure why yours aren’t staying up unless your burlap is different or your wood slats are too flimsy.