Ten Minute Project: Crocus Planter
Put together a crocus planter using grocery store bulbs. An easy, inexpensive and cheerful decorating project for late winter or early spring.
Although we’ve had a fairly mild winter compared to last year, I can’t help but feel a little hum-drum this time of year. All the snow has melted and it’s warm by February’s standards, but I’m craving the beautiful green that comes along with spring.
I simply love the promise of branches budding out, bulbs peeking through, birds chirping… It’s definitely worth looking forward to, right? Something tells me I’ll be waiting a while. Darn.
In the meantime, I thought I’d cheat winter and put together an easy spring crocus planter that can sit on our front porch bench when the weather is playing nice and brought back inside when winter just won’t let go. Ready to add a cheerful touch to your space too?

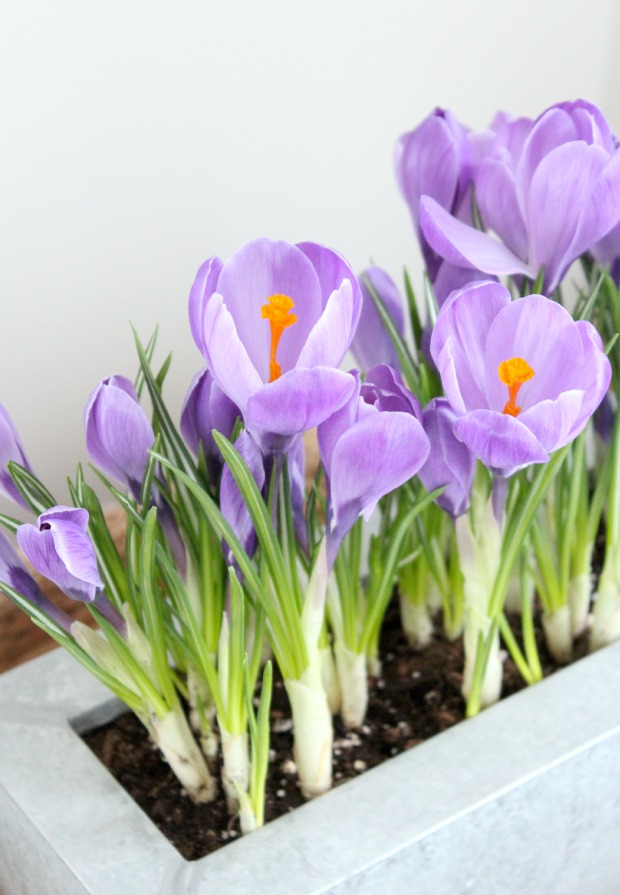
DIY Crocus Planter
Supplies
- crocus bulbs
- pot or small planter box
- potting mix
- pebbles
- water
Although I’ve forced bulbs in the past, for this project I kept it simple and picked up inexpensive pots of crocus flowers at the grocery store. You could use tulips, hyacinths or any other bulb you’d like. Select bulbs that are just beginning to bloom so they’ll last longer.
Instructions
- Start by adding a small layer of pebbles at the bottom of your pot or planter, then top about half way up the side with potting mix.
- When transferring the plants to your container, you may need to gently pull the roots apart (mine were root bound). If they’re crowded, add a bit more space between when placing in your pot.
- Top with potting mix all around pressing lightly. Ensure the soil doesn’t surpass the existing top layer, leaving about an inch of space from the rim.
Crocus Planter Care
Water thoroughly, allowing the soil to become slightly dry between applications. I usually set mine in the sink until the excess drains out.
Crocuses (or croci) like bright locations but still like to be cool. Cooler locations will definitely extend the flower life of your plants.
After the flowers fade, I’ll plant the bulbs in my front flower bed for next spring. I have quite a few blooms that have started out as planters, such as hyacinths, tulips and daffodils. They make great springtime cut flowers too.
More Spring Flower Projects
Want more home decorating ideas like these sent directly to your inbox? Be sure to SUBSCRIBE.
Enjoy your day!

Good idea to transplant them into something prettier. I’m envisioning this on my kitchen window sill right now!
I had mine up there for a while. Something pretty to look at while I’m doing dishes!
Looks so fresh and pretty! Just what I need after this long winter!
Yes, you guys are getting winter good this year! Snowing right now, but I’m hoping it’s only here for a short while!
Love the galvanized planter!!
Thanks Anne. A Winner’s special!
OOOh, this is so pretty. A fabulous way to give your house a Spring feel! Love it Shauna.
love it crocus one of my favorite spring flowers so colorful and welcoming lets me know spring is not far behind
Oh, you make that sound so easy! I love this idea, we aren’t having such a mild winter on this end of the country… so much snow, we can’t even see the grass. That may be just the Spring I’m craving!
This is great Shauna! A nice hit of Spring at just the right time. Even though our sky is blue and the sun is shining bright, for some reason I am feeling the winter blahs today – your post was the perfect hit! :-) Also, I never knew not to let the potting mix surpass the existing top layer – why is that?
It may be okay, but certain bulbs don’t like to be too deep. Keeping the top layer the same ensures the plant will thrive.