Succulents in Weathered Pots
Get these tips for repotting succulents, plus a quick and easy method for aging terracotta pots. An inexpensive way to decorate your outdoor table.

Can you believe May is almost over and it’s the final week of the OUTDOOR EXTRAVAGANZA? I’ve had so much fun playing in the dirt (I guess that’s the farm girl in me) and adding some new decorative touches to our back yard.
Before you read on, be sure to check out my garden apron tutorial and flea market style outdoor tablescape if you missed weeks one and two. You’ll be able to see the other bloggers’ fantastic projects there too.
Today, it’s all about Outdoor Paint & Build-it Projects.
Succulents in Weathered Pots
If you adore succulents like I do, this one’s for you…

I must start by saying I’m sharing a different project than what I planned originally for you today. You see, starting late last week, our weather turned very cold and rainy. At times it even snowed. Not the best case scenario for a long weekend!
Needless to say, I wasn’t able to paint or build anything in our back yard. That’s how it tends to go when you have big plans outside, right?

Given the circumstances, I decided to go in another direction, and I’m sharing some tips for repotting succulents, as well as my quick and easy method for giving new terracotta pots a weathered or aged look. Technically, this project does involve paint.
On that note: Stay tuned for upcoming posts about our deck makeover, as well as our little bench/side table project (when the weather turns around)!

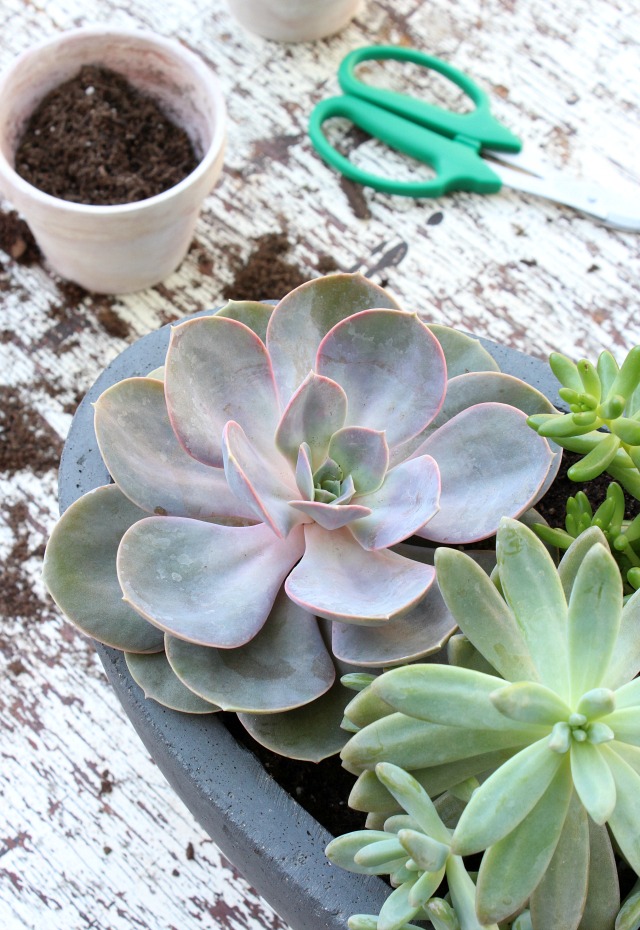
Variety of Succulent Plants
While I was at Home Depot recently, I came across a large planter filled with mixed succulents for $17. Usually, individual plants go for around $5 a piece, so I jumped at the chance before they were gone. Some were a bit overgrown, but I planned on dissecting individual plants and repotting them anyway.

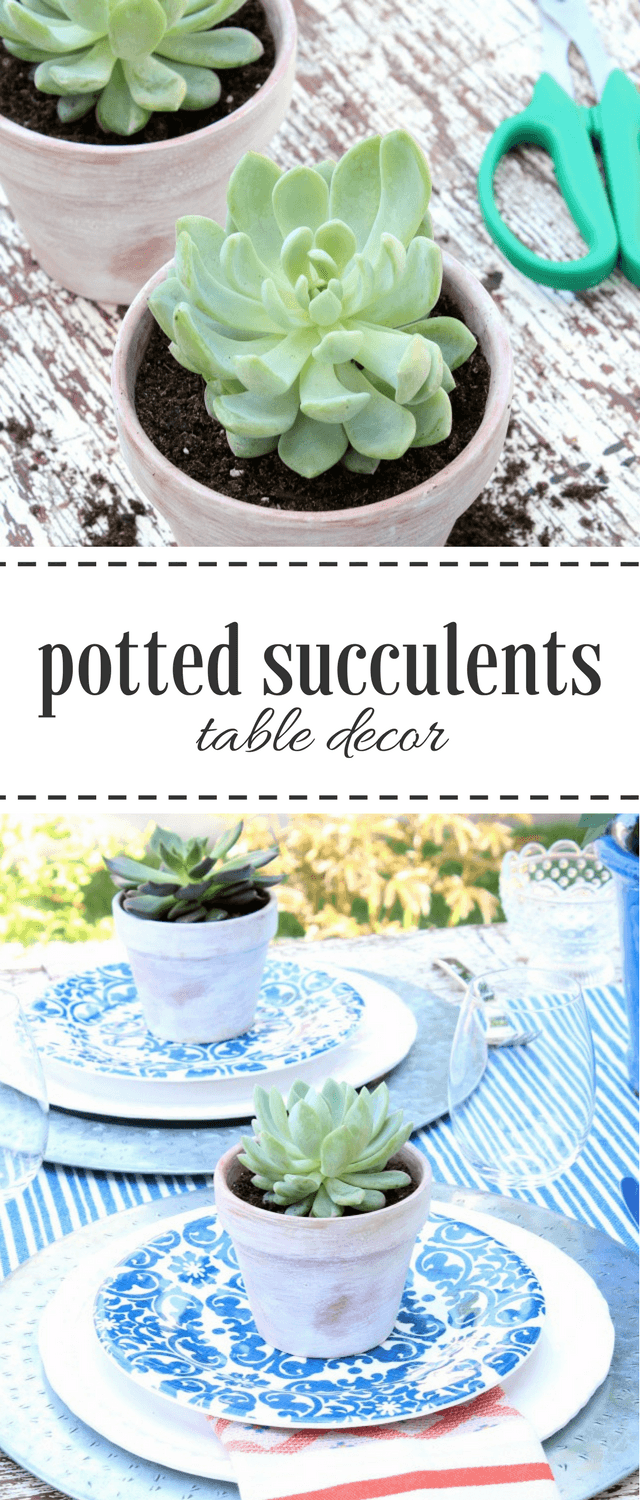
For starters, I wanted to use the smaller succulents to decorate the outdoor table setting I put together last week. I thought they’d make lovely take-away gifts for summer dinner parties too.
How to Quickly Age Terracotta Pots
Tip: If you’re looking for terracotta pots, take a look at the dollar store. Most locations have a range of sizes at a great price.
To tone down the orange colour, simply wash the pots with diluted indoor/outdoor white paint, using a rag to remove a little here and there. Some areas may require more than one coat. Don’t worry if you mess up. Dampen the rag to remove the excess and apply a little more. Be sure to finish at least the rim part of the inside too.
I shared this easy technique when I created the tool box planters for last year’s Outdoor Extravaganza.

If you want to take the aging process a step further, use spray adhesive to add some moss, let it set up a bit, then brush off the excess. That’s what I did for my potted herbs this spring. Leaving them outside lets them build up a patina too.

How to Repot Succulents
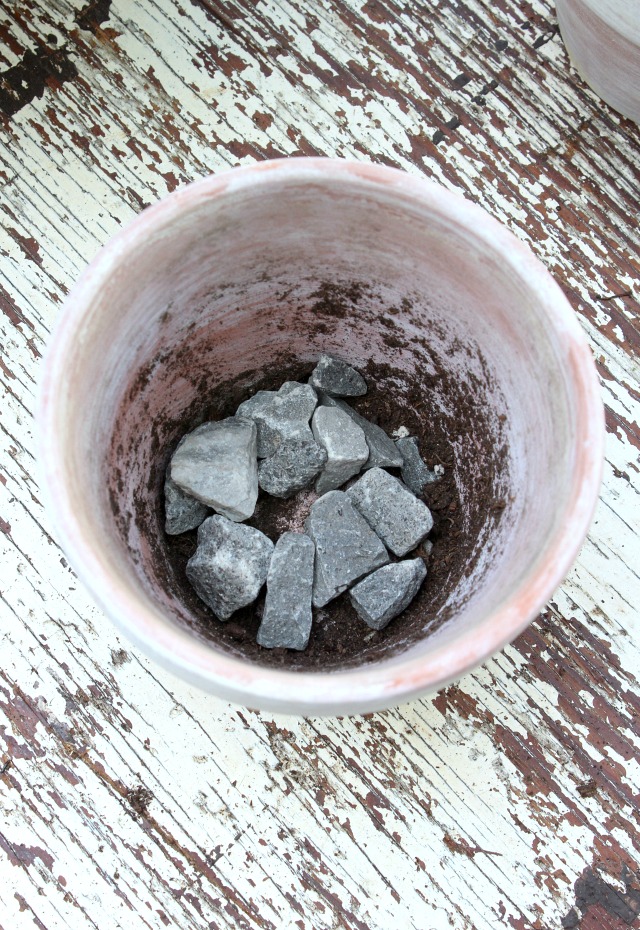
After the aged pots are good and dry, line the bottom with some gravel for drainage.

To remove the individual succulent plants from the mixed container, use a spoon or small garden trowel to carefully dig around the base of each plant. Use your fingers to carefully pull apart the roots.
You’ll probably notice that some plants have “babies” or offshoots. These can be carefully divided with snips or a sharp knife.
The plants that already have roots can simply be transplanted into a pot with cactus soil, which has good drainage properties. Be sure to water sparingly, as succulents don’t like to be overly wet.
For the others without roots, cut the stem to be about an inch or two long and allow to dry in a cool, shady place for a few days so the ends can callous over. Then, they can be potted just like the others in the cactus mix.

Succulent Table Decor
Aren’t these mini potted succulents adorable? I love how they add a bit of life to each place setting. Such an easy DIY outdoor table decor project!
Be sure to check out my flea market outdoor table setting for more details.

Mixed Succulent Planter
For the remaining succulents, I transplanted them into a grey “concrete” container allowing a bit of growing room between each plant for growth.

When creating a planter with various succulent plants, it works best to have different sizes, shapes and textures. Start with larger plants, then fill small areas in with tiny plants.

I love the mix of purple, pink and green.

For now, I have the planter sitting on my kitchen counter, but I do plan on moving it to our front porch when it gets a little warmer outside.
Pin these mini potted succulents for later!

How to Care for Succulents
Not sure what to do with succulents after they’re planted? Check out my outdoor succulent care guide.

So many fun ideas for succulents, including my DIY Succulent Centerpiece.
More Outdoor Paint and Build-it Projects
You’re going to love these creative ideas by some of my blogger friends. Be sure to stop by and say HELLO. We love comments and shares!

Patio Dining Set Makeover by Craftberry Bush
DIY White Washed Terra Cotta Pots by Setting for Four
Make Painted Rock Garden Markers by The DIY Mommy
DIY Arrow Painted Vintage Paddle Deck Decor by The Happy Housie
Succulents in Weathered Pots by Satori Design for Living
The Perfect Accent to my Front Porch by City Farmhouse

We hope to see you at tomorrow’s big Outdoor Extravaganza link party! Set a reminder if you’re forgetful like me.
We invite you to share your projects from this spring and seasons past- plants & flowers, outdoor decorating & entertaining, paint & build-it, and so much more!
One other thing before you head off… If you’re looking for more useful and pretty ideas in your life, make sure you’re on the email list! You can subscribe here.
Enjoy your day,


These look amazing!! What a difference a bit of craft paint can make, right?!? So pretty!!
Thanks Krista! Such a simple and inexpensive project. Sometimes those are the best, right?
Love these! Pinning for later!