Our Entryway Design Plan
Sharing our proposed entryway design plan, including finishes, decor and more for a functional and beautiful space.
I mentioned at the beginning of April that I ordered a new blue ombre rug for our entryway. It finally arrived, and I’m feeling relieved because the bold colour is exactly what I wanted to wake up the space. As with many makeover projects, the rug is only the jumping-off point. Sometimes new accessories are all you need to refresh a space, but in this case, our entryway design plan requires a whole lot more to create a welcoming first impression.
Entryway Design Plan
If all goes well in regards to timeframe and budget, these are the steps I believe we need to take in order to give our entryway an updated look.
1) Remove Linoleum and Replace with Tile
From the moment we moved into this home, I have despised the flooring. Not only is it lifting, but the pattern and colours are terrible. I don’t care how beautiful an area rug is, it’s never going to camouflage this ugliness.

Although I haven’t finalized the tile, I’m leaning towards a charcoal slate floor.
2) Remove Existing Trim and Add Panel Detailing
I must also put the reddish stain that accompanies the wimpy oak trim into the same ugly category as the linoleum. It all needs to go. No explanation necessary.
I’d love simple shaker style paneling like this entryway by Hello from the Natos with built-in ledge and hooks for extra functionality.

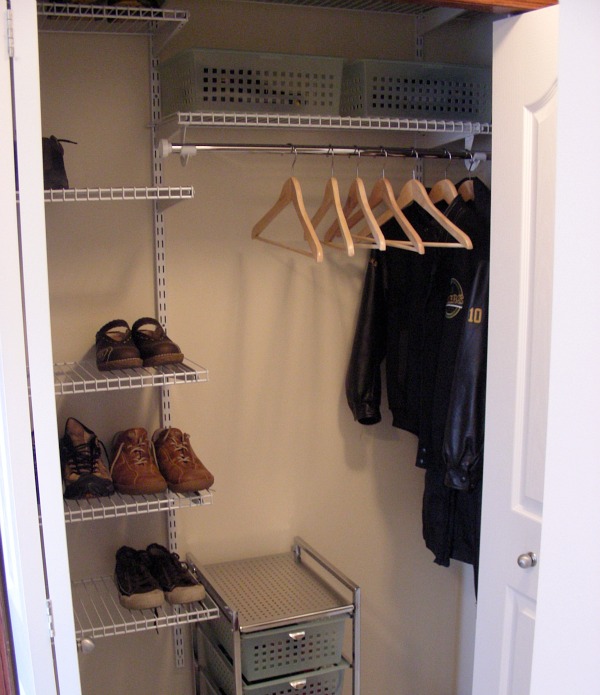
3) Change Out or Modify the Closet Doors
The existing bifold doors are builder’s basic in design and don’t allow complete access to the closet.

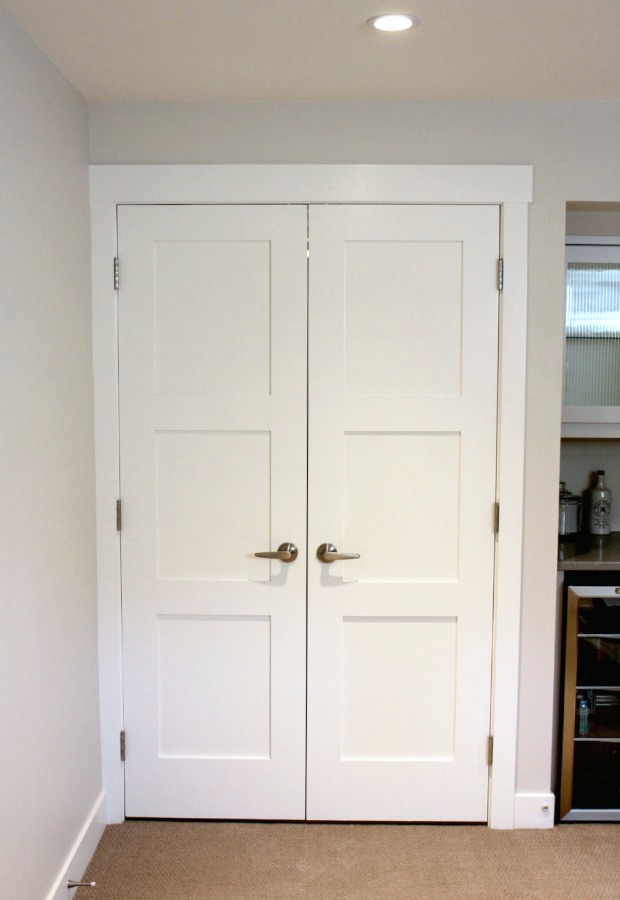
I’d like to replace the bifold doors with shaker style double doors that can swing open (similar to those used in our basement renovation).

I may even add mirror to the recessed panels on the door to expand the look of the space and double as a full length mirror (something we currently don’t have).
4) Give Everything a Fresh Coat of Paint
The existing walls are scuffed up badly from years of hockey bags, backpacks, and everything else coming in and out of the house. Plus the colour is bland and cold.

I plan on painting out the trim, doors, and paneling in soft white. Above the paneling, I’m thinking anywhere from a light warm grey to a soft blue-grey to turquoise. I won’t decide on it until everything else is done. I may or may not be craving additional colour.
5) Replace the Lighting
The ceiling height on our main floor is only 8 feet, so options are limited. However, almost anything is better than what we currently have. I’d also like to get rid of the popcorn ceiling, but that will have to wait until we make other changes to the main floor.

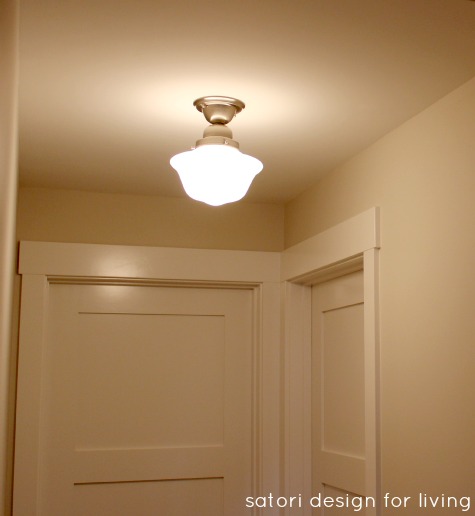
I may replace all of the lighting in the entryway and adjacent hallway with schoolhouse style light fixtures like the one we used in our basement hallway.

Other lighting options I’m considering are milk glass or vintage glass pendants. A visit to the lighting store next week should help me clarify this.
6) Add Decor for Interest and Function
Our current entryway has no visual appeal whatsoever. It’s a space that has been neglected over the years for sure.

Of course I’ve already selected the rug. I also plan on adding artwork above the paneling and perhaps a styled narrow console table along the wall leading into the kitchen.

With our busy schedules, this entryway facelift is definitely going to need to be completed in stages. I plan on posting updates as we make progress. Hopefully you’ll see something sooner than later!
Have any other ideas for making over our small entryway? I’d love some input or feedback.
Update: Check out some of our entryway updates.
Want more home improvement projects like these sent directly to your inbox? Be sure to SUBSCRIBE.
Enjoy your day,


lots of great ideas! i can’t wait to see it done!
Thanks Cassie. Me too!
I love where you’re going with it so far, adore that rug!! That board and batten trim with colour above is the way to go, I am a grey girl and would accessorize with that beautiful colour, that way you can change on a whim without the expense and time of painting. I love the idea of all of that art too! Can’t wait to see it!
I agree that neutral paint above is probably a better way to go. Thanks for your input!
I know what you mean by working in stages. That’s my life, lol. You’re so lucky to have a big closet in the entryway. I can’t wait to see your progress. I know it will look amazing!
That’s the one and only thing our entryway has going for it right now!
Love the grey slate! At one point I considered that for our back entry but it ended up costing more than my budget (we carried the tile into our basement so the square footage expanded)! I too would love to add panels to our back entry because the walls get so scuffed…are you doing this yourself?!?!?! That schoolhouse fixture is great…I can think of a few spots in my house that could use that….
Good luck with the progress!! Let’s see who finishes their entry first… ;) I’ve not done anything since my last post….
We’ll definitely hire out the tile installation and may hire the paneling out since my husband has a busy travel schedule for May, but we’ll see. I plan on doing all of the painting and everything else myself. Probably will be a slow process with everything else on my plate, but at least it’s finally happening after much procrastination!
I just love all of your ideas especially love the narrow console idea – the perfect welcome with fresh flowers and the bead and batten is so charming…love!
I fell in love with your rug, and now I’m so excited to see your transformation. Your design plans are going to make your entry incredible – so many great elements. I can appreciate the transformation happening in stages – a certain bedroom makeover happens to come to mind! Good luck, Shauna – really looking forward to seeing the progress!