Printed Veggie & Herb Garden Markers
Make these simple printed canvas garden markers for potted herbs and vegetables. A lovely gift idea for any gardener or foodie!
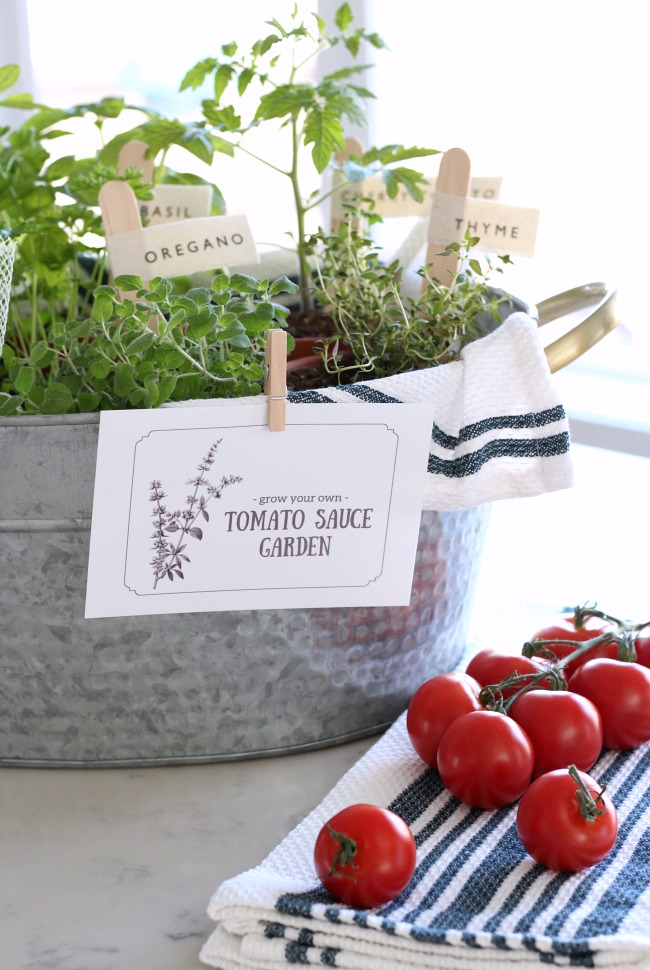
As promised last week, I’m sharing the step-by-step process for making the printed veggie & herb garden markers I included in my “Grow Your Own Pasta Sauce” Garden Gift Basket.

When it comes to gardening, herbs are my favourite plants to grow. I love that I can snip a few leaves or sprigs here and there and add delicious, fresh flavour to so many dishes.
And let’s not forget about drinks. Have you ever tried a basil & cucumber mojito or mint & berry iced green tea? So yummy! The culinary possibilities with herbs are endless.

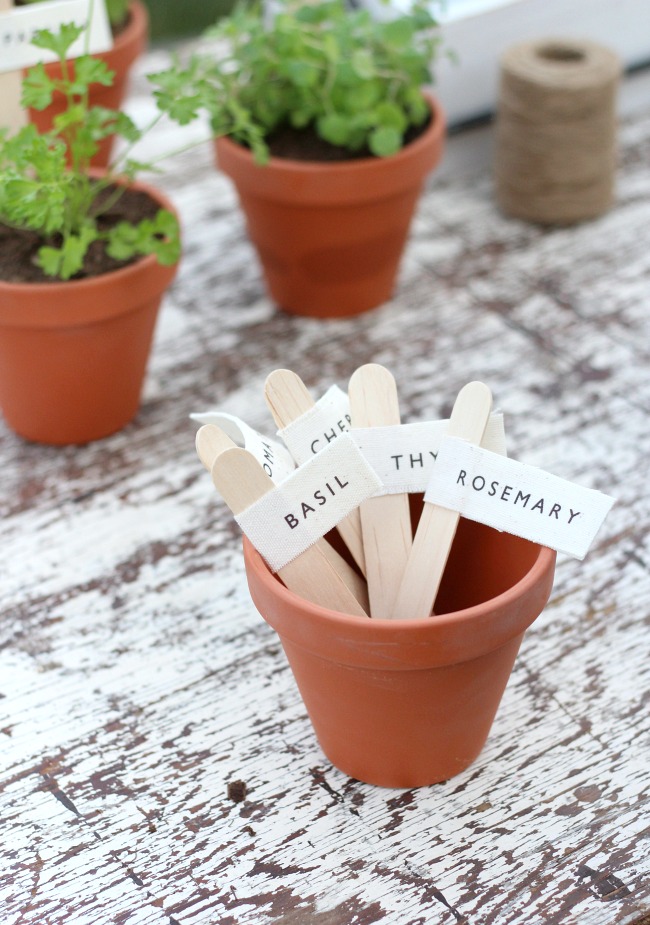
Most potted herbs and vegetables come with markers when you buy them, but I thought I’d make prettier ones. They’re also handy when starting plants from seeds indoors.
DIY Veggie & Herb Garden Markers
These garden markers work best for potted plants located indoors or under a covered outdoor space, such as a front porch, since they’re made using canvas and wood craft sticks. Although the print medium is waterproof, being exposed to the elements over time will likely start to break them down.

I included a printout for most common herbs, as well as a few other garden plants. It’s easy to create other labels you may need using a simple program like MS Word. Play around with different fonts for a customized look.
If you haven’t worked with transfer artist paper (TAP) before, now’s your chance. I love this stuff, and look for any opportunity to use it. Check out these gift tags and treat bags for more project ideas.
Some links used in this post are affiliates. Please refer to my disclosure policy for more information.
Supplies
- Jumbo Wood Craft Sticks
- Cotton Canvas Fabric (I used this fabric)
- Transfer Paper for Inkjet Printer (I used Lesley Riley’s TAP)
- Fabric Glue
- Mod Podge (optional)
Tools
- Inkjet Printer
- Scissors
- Iron
Instructions for Garden Markers
- Begin by cutting the fabric into 1″ x 8″ strips for the number of markers you’ll need.
- Print out the herb and vegetable labels onto the heat transfer paper following the instructions that came with your paper. Remember to flip horizontally or select mirror image when you print. Also, use the best quality format.
- To apply a label to a piece of fabric, carefully cut it out and position it face down. Using a dry iron on the highest setting, press down firmly, lifting and moving around every 10 seconds or so (about 5 times) until the graphic has transferred (read the instructions that come with your transfer paper for the best results). Remove the backing while it’s still hot. You can see the step-by-step process with photos (when I made my treat bags).
- To attach the label to the wood craft stick, apply a thin layer of fabric glue to the entire back side, wait a bit, then fold it around the stick. (I found it easiest to use a small paint brush to get an even layer of glue.) Press firmly together. Wipe away any excess glue and allow the whole thing to dry on a flat surface.
- Once dry, trim off the excess fabric on the end and tidy up any loose threads.
As an option, you can add a few coats of Mod Podge to make the garden markers more water resistant. Keep in mind it will change the look slightly. I chose not to since I won’t be getting mine wet.

Here’s another look at the gardener and/or foodie gift idea I put together using these printed canvas garden herb makers. As a collection or as individual pots, they make lovely gifts.
Related: DIY Gift Ideas for the Gardener
Do you like growing your own food too? If you have the outdoor space for a larger garden, my friend Deb has all kinds of helpful ideas and tips for growing vegetables. Someday I hope to have this option again.
Want to make these garden plant markers? Be sure to pin this DIY project for later!

See you Thursday for week two’s Outdoor Decorating & Entertaining theme. That’s likely what I’m working on right now. Wish me luck!
One other thing before you head off… If you’re looking for more useful and pretty ideas in your life, make sure you’re on the email list! You can subscribe here.
Enjoy your day!