Get access to the MEMBERS ONLY LIBRARY!
SUBSCRIBE! Get access to the Members Only Library>
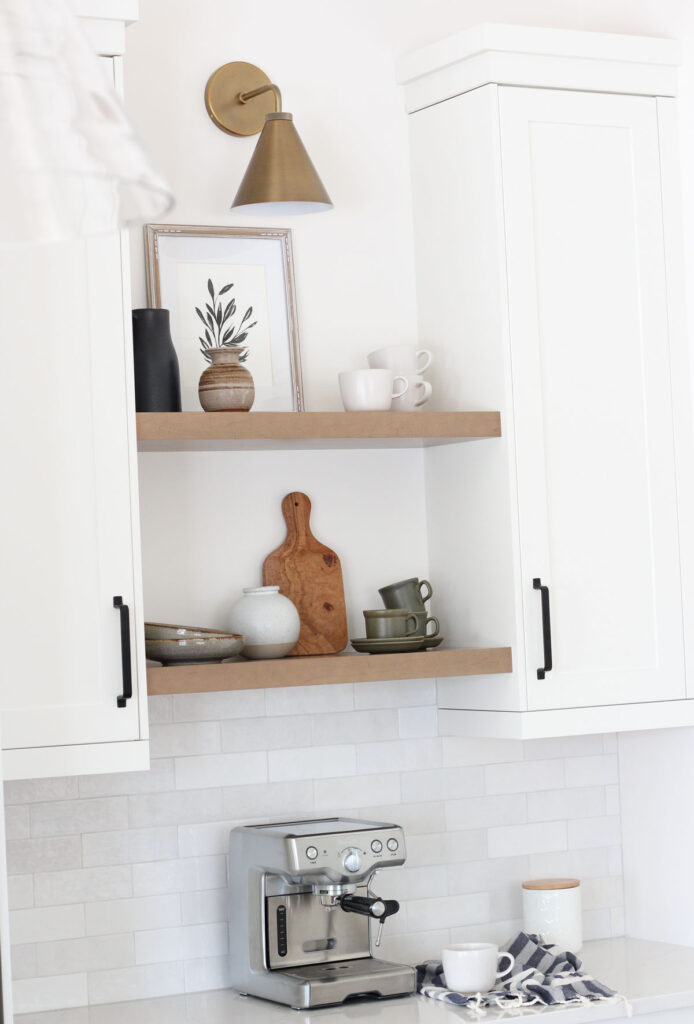
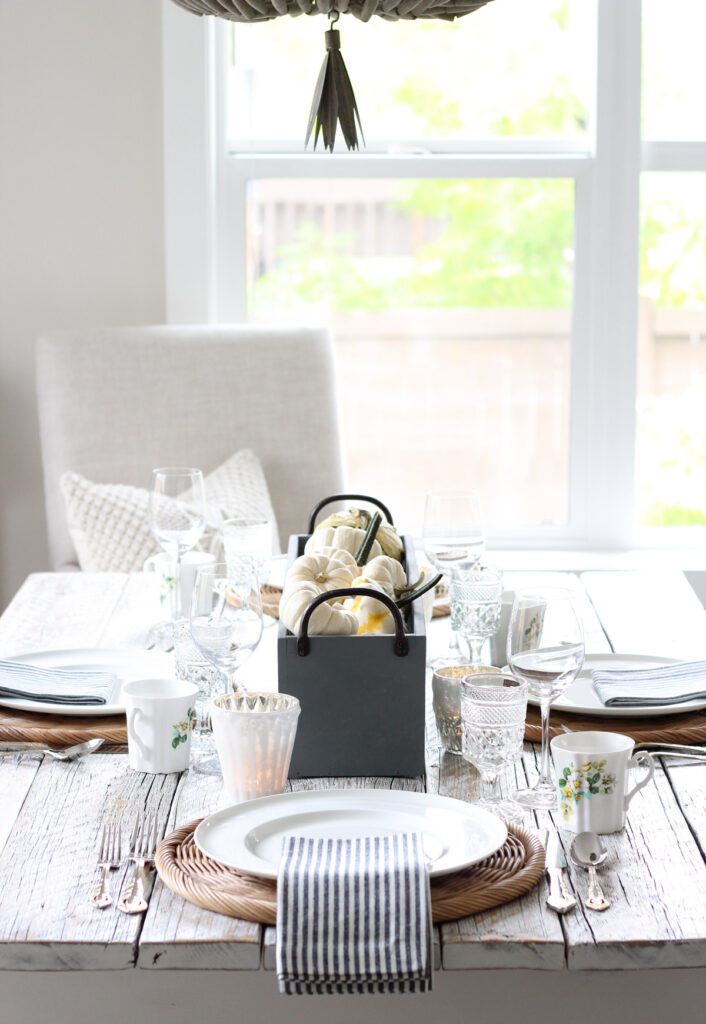
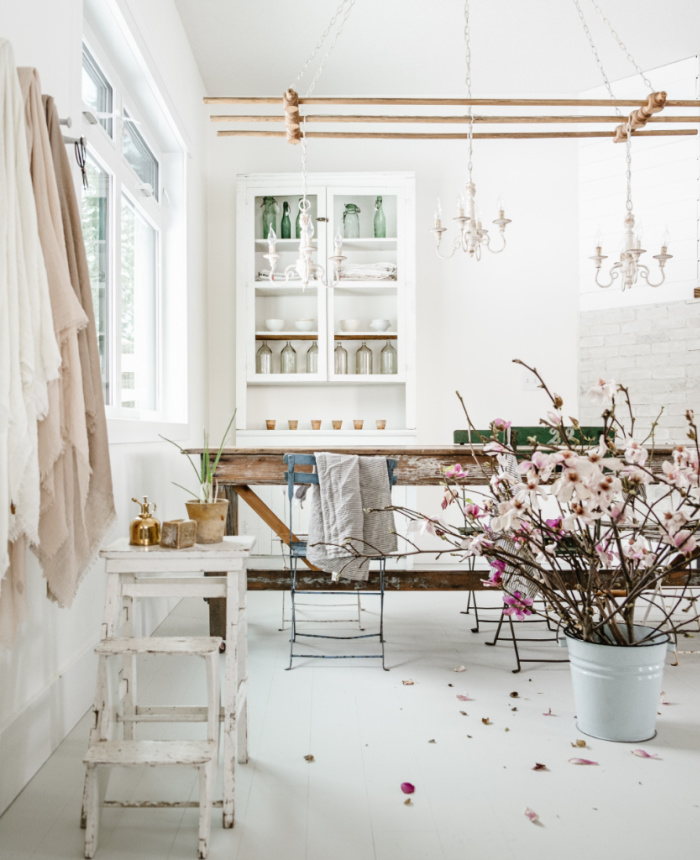
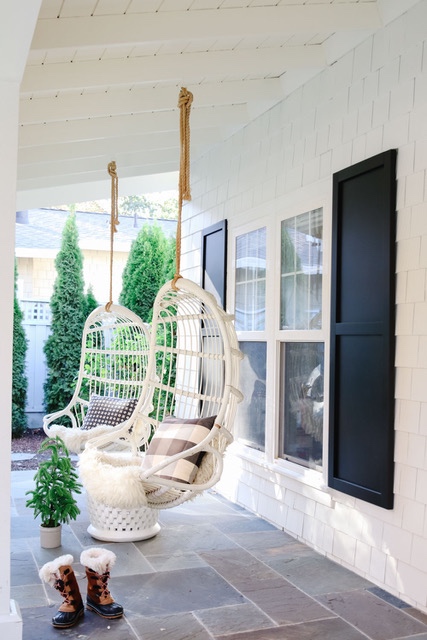
Beautiful decorating ideas for kitchens, living rooms, bedrooms, bathrooms, staircases, laundry rooms, home offices and more!